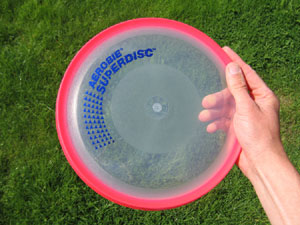
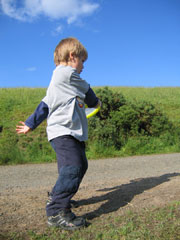
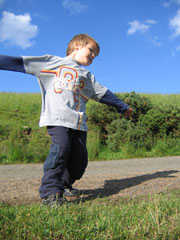
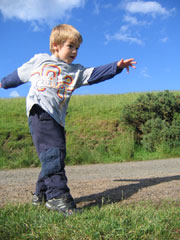
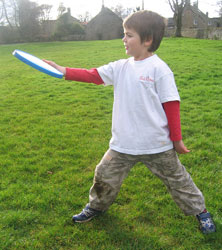
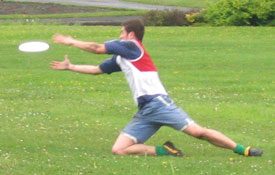
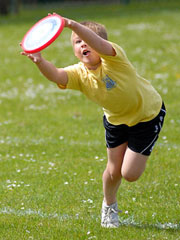
There are many ways to throw a flying disc. So let’s start with basic Frisbee skill number 1, the Backhand:
Step 1
Grip the disc like this…
…and like this for more power:
Step 2
Begin by throwing the disc using only the wrist. Don’t use use your arm yet, just make the disc spin as fast as you can by flicking your wrist…
If you can make the disc fly without wobbling – WELL DONE! You have the correct wrist action. Go to step 3 to have a go at the full throw.
Step 3
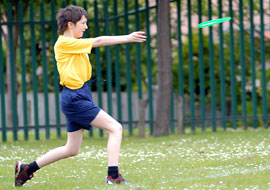
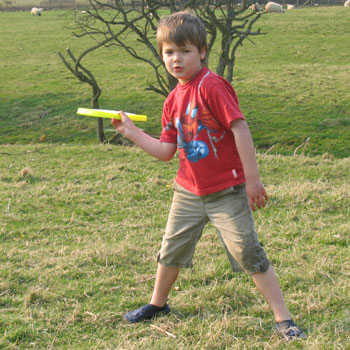
The reach back:
- Stand sideways to the direction you want to throw
- Take the disc back around the body
- Bend your elbow slightly.
Step 4
The throw:
- Bring the arm around quickly
- At the same time, step onto your front foot.
Step 5
The release:
- When your arm is pointing at your target, let go of the disc by flicking the wrist with power.
Step 6
The follow through:
- Let your arm and body follow through naturally as you continue to turn your body.
Step 7
Watch it fly:
- Did the disc fly how you wanted?
Step 8
Make adjustments:
- Does it fly too high?
- Does it fly to the left or right?
To start with, it’s important to be able to make the disc fly straight. The key is to make sure the the disc is level to the ground when it is released. The disc is like an aeroplane – if the wings are tilted up, the plane flies up. If plane is tilted to the left or to the right, the plane will turn the same way.
When you let go of the disc, aim to release it so that it is flat – this may take a little practice – so go on, you can do it!
THE FOREHAND
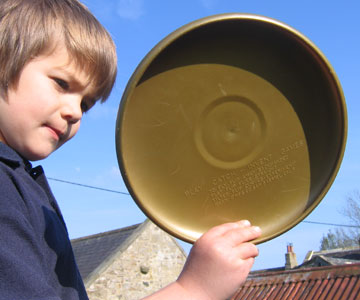
Now you’ve got the backhand sorted, let’s have a go at basic Frisbee skill number 2, the forehand (a.k.a. flick or ‘sidearm’). There are two main ways to grip, depending on the type of disc you are using. The Aerobie Superdisc is really easy to throw a forehand, so we’ll look at this first.
Step 1
Grip like this with a Superdisc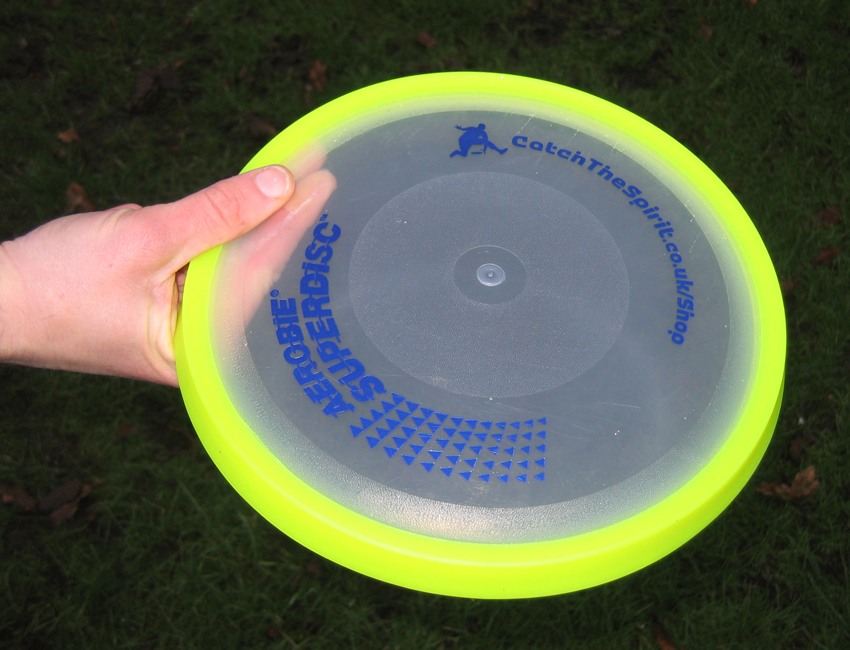
As you can see, the thumb is on top and the first 2 fingers are placed under the disc. The little finger is pressed on the outside of the rim.
If you are using a disc with a trditional rim, press the middle finger against the rim, the thumb on top.
Step 2
- Stand facing the target
- Hold the disc out to the side
- Keep your elbow tucked in
- Step onto your right foot
- Take the disc back from the elbow and bend the wrist back
Step 3
- Think ‘flick’ rather than ‘throw’
- From the position shown in the above picture, bring your arm forward quickly
- Allow your wrist to ‘snap’ forwards to release the disc
- Make the disc spin fast!
- Watch it fly!
Step 4
Make adjustments!
- If it flies down to the ground, aim to flick the disc higher.
- If it turns to the left, try letting the disc hang more loosely during the throw – just allow the spin to straighten the disc up as it flies.
- Once you can throw a Superdisc staight every time, try curving it to the left and right.
- Then have a go with a rimmed disc, such as the Sky-Pro.
CURVING THE FLIGHT
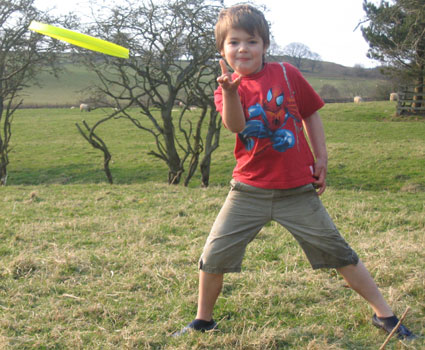
And now for basic Frisbee skill number 3, curving the flight! You can make the disc curve from the right to the left or from the left to the right. The main thing do is to release the disc on an angle.
Right to Left
By throwing the disc like this it will curve from the right to the left. This is called adding ‘skip curve’.
Left to Right
By throwing the disc like this it will curve from the left to the right. This is called adding ‘roll curve’, and most people find this a little more difficult to master.
AIR BOUNCE
For basic Frisbee skill number 4 – give it some ‘mungage’! You can make the disc glide through the air more smoothly and with more power even make it fly down and then rise up. To do this tilt it back on the ‘Mung Axis’ as you throw. This works best if you give it extra ‘snap’ with the wrist too.
This tilting techinique is called adding ‘mung’ to the disc. It makes your throws more accurate and the gliding effect makes it easier for other people to make catches.
CATCHING
The Crocodile Catch
Basic Frisbee skill number 5 is the crocodile catch! The golden rule with catching is to use two hands whenever possible, unless you’re just showing off.
- Aim to catch the disc with your hands on either side of the disc by ‘smacking’ them together.
- Watch the disc carefully as it flies towards you.
- Timing is very important!
To practice catching, begin by standing close together and making short throws. Shorter throws are more accurate, so you will have more opportunities to make successful catches.
The Crab Catch
The crab catch, our 6th basic Frisbee skill, can be done with one hand or two. Begin practicing with two hands, then when you get good at that, have a go at using just one hand. The goal here is to catch the disc between your thumb and fingers. If the disc is flying at head height, catch with the fingers on top of the disc and the thumb underneath.
If the disc is flying low to the ground, you may find it easier to catch with the thumb on top of the disc and the fingers underneath.

